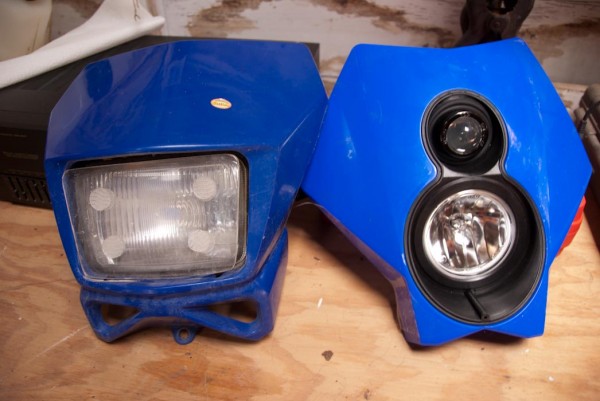
Trail Tech generously supported my ride by providing me a X2 headlight to install on the DRZ. The stock headlight doesn’t provide much light and the overall aesthetic makes the bike look dated. There are a couple of other aftermarket headlight kits for the DRZ, but the X2 was my first choice. I went with their on/off road halogen so that I wouldn’t be blinding cagers as I pass them. I also wanted a simpler technology if the HID would fail in a remote part of the world. I’ll be able to get a halogen replacement bulb anywhere in the world.
Installation
The instructions are very clear that came with the kit, so I’ll be pretty brief here with my post and let the pictures do the explaining. It took less than an hour.
First I removed the stock headlight (for sale, btw, email me!). The first part of it was pretty easy to remove, just a few bolts. The cage which the headlight was mounted on was a bit trickier. You need to drop the forks. This seems like a big deal but was really quite simple. Place the bike on a center stand/jack stand such that the front wheel is hanging in the air. Ready a couple of bricks so that you’ll have a place for the wheel to rest on while you’re working on removing the cage. Note or mark where the forks are currently positioned relative to the top clamps. Then loosen them at the top and bottom clamps slowly.  Do this slowly because it’ll want to drop out beneath you if you just crank it loose.
Because of how I had my bike suspended, I wasn’t able to get the front wheel low enough so that the cage would slip out entirely at once. I just got it low so that with a gentle bend the cage could be removed. Upon removal, it was easily bent back in position without any appreciable wear to the part.
The next step was simply as stated in the instructions, undo the front fender and mount the underpinning plastic part on top of the front fender. The final step is to mount the headlight on the plastic pins and attach it with the rubber straps. You may have to reposition the nest of wires a few times to find a way to get the headlight to mount flat. It took me about 5 minutes of trying a few different places followed by testing everything by turning the bars back and forth.
Testing / Impressions
I could barely wait until the sun set to do the test ride. Even with just the halogen, the difference was remarkable. I’m going to see if I can meet up with my friend who has a stock DRZ light installed to do a live comparison. Not only does it work better, but it is 100x cooler looking and really updates the overall look of the DRZ. I’m going to revisit the installation in a couple of months and see how the Trail Tech X1 Halogen holds up to RTW torture.

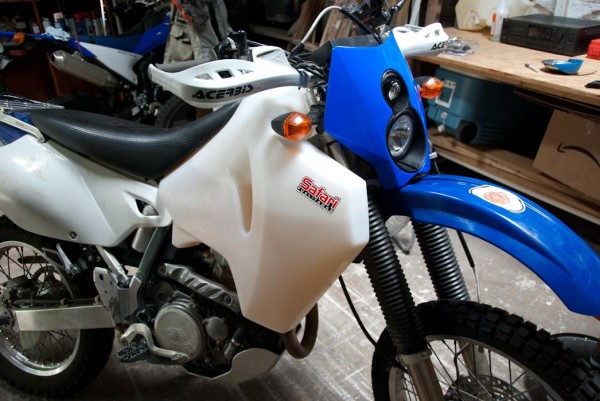
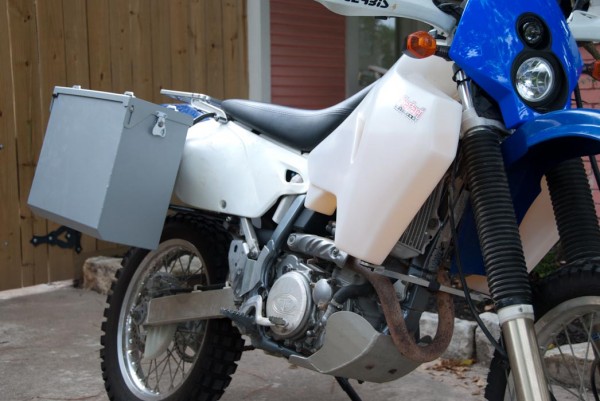
The DRZ is looking nasty!!
Dave,
Better lighting is always a good upgrade. So far my zenon upgrade is still working but it will be interesting to see if they hold up on my trip.
Good luck on your trip.
Ken
Lucky Boy,
looks amazing, I like it very much !
Do you add a windshield ?
A big hug from Switzerland
I had a windshield for a while but I found it didn’t help that much. I’m riding pretty slowly, so I don’t feel the same need if I were to be running at 100mph.
The website’s lookin great! I would be getting so pumped right now if I was you!